Blender Tutorial
Rendering Video for your Technical Papers
There are several amazing tutorials available online (like this one) for Blender. Here, I hope to give a quick guide on rendering 360\(^{\circ}\) view of a mesh, which is often used to present results in technical papers.
For inital set-up I would suggest Silvia’s tutorial which gives a detail step-by-step instruction on how to render an image of given mesh. Assuming that you’ve made yourself familiar with basic set-up, navigation and image rendering, Im skipping over some very trivial intermediate steps.
Scene Set Up
1. Open up blender. This is the default screen you see.
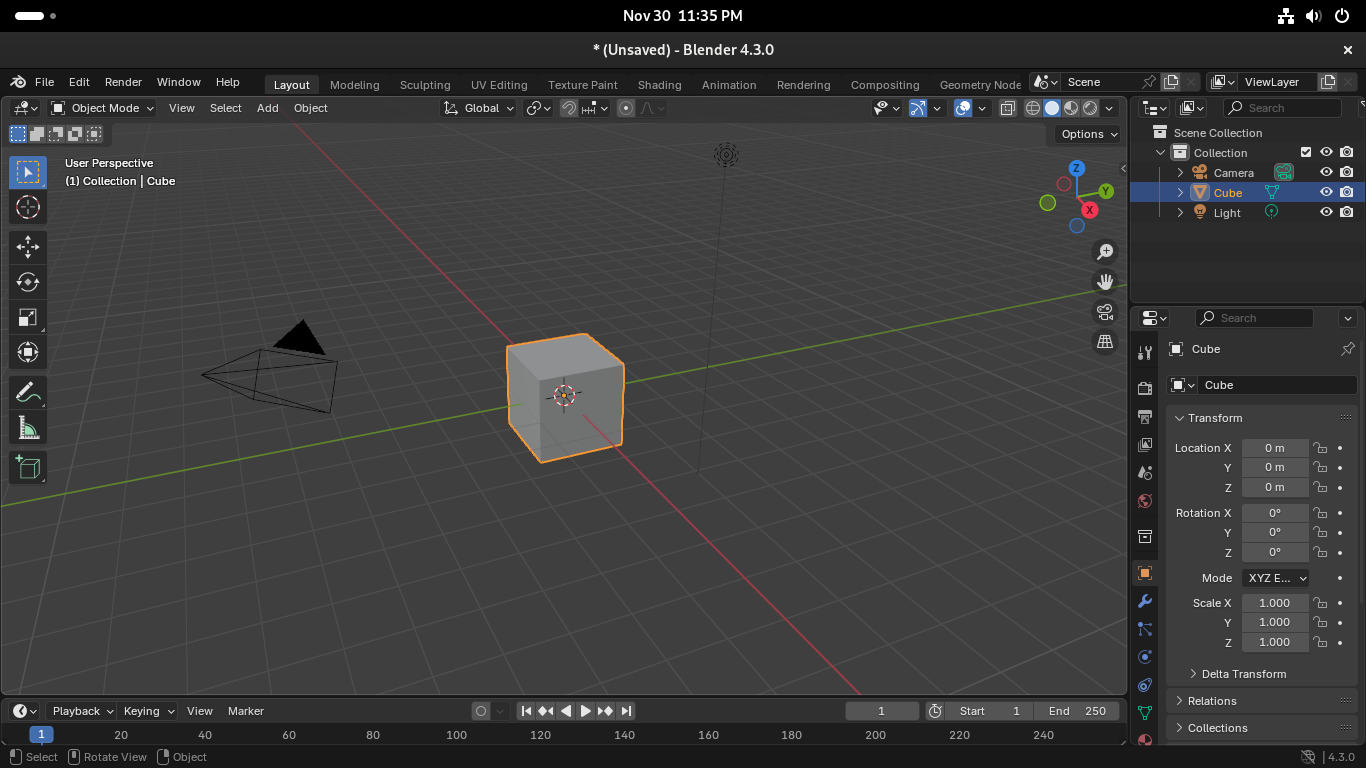
Press a to select everything in the view port and press x or del to delete everything.
2. We need three things to render a scene\: Object (mesh), light and camera. First, load your mesh from File -> Import -> Wavefront (.obj). I'm using the famous Standford Bunny as example.

3. Load the camera using shift+a -> Camera. Press space to bring up the search option. This can be set up in Preferences. Given the hundred options available in blender, this is the easiest way to find things. Search Align Active Camera to View and select. Press the camera icon (red) to align to camera veiw.
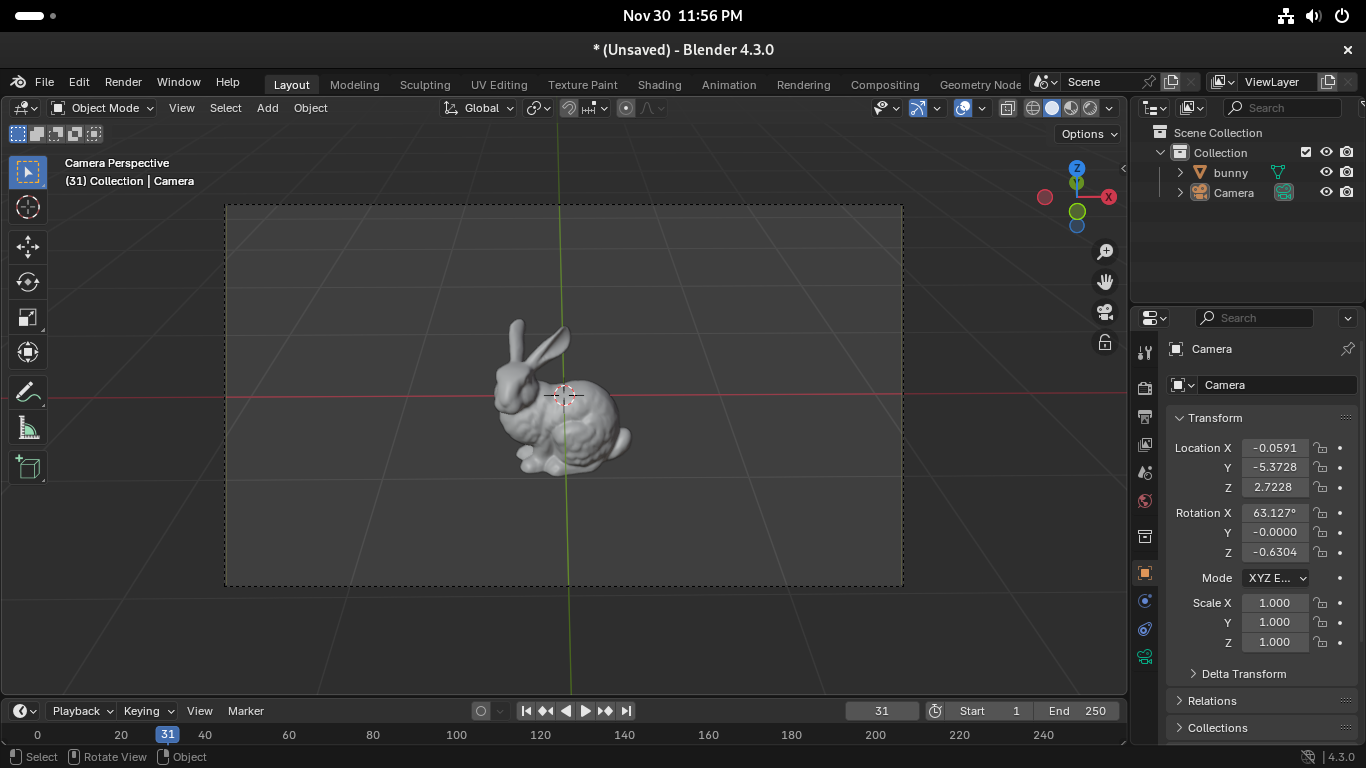
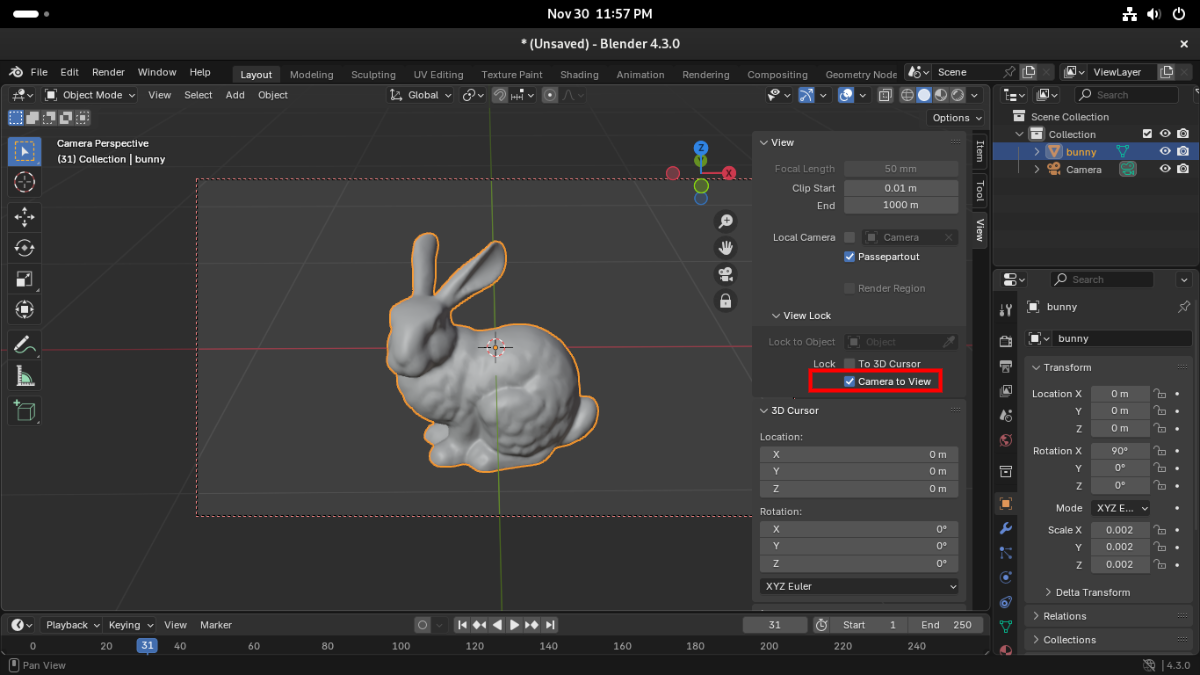
You can use the side toggle to view camera options. Select View -> View -> Camera to View, to further adjust your camera to the mesh.
4. Next, load the ground plane using shift+a -> Mesh -> Plane. Scale the plane (press s and drag) and adjust it lie just below the mesh (press g to grab, z to select axis and drag). We'll use this plane to form the background as well. Press tab to enter edit mode. Select the two vertices and press e (to extrude), z (select axis) and drag.
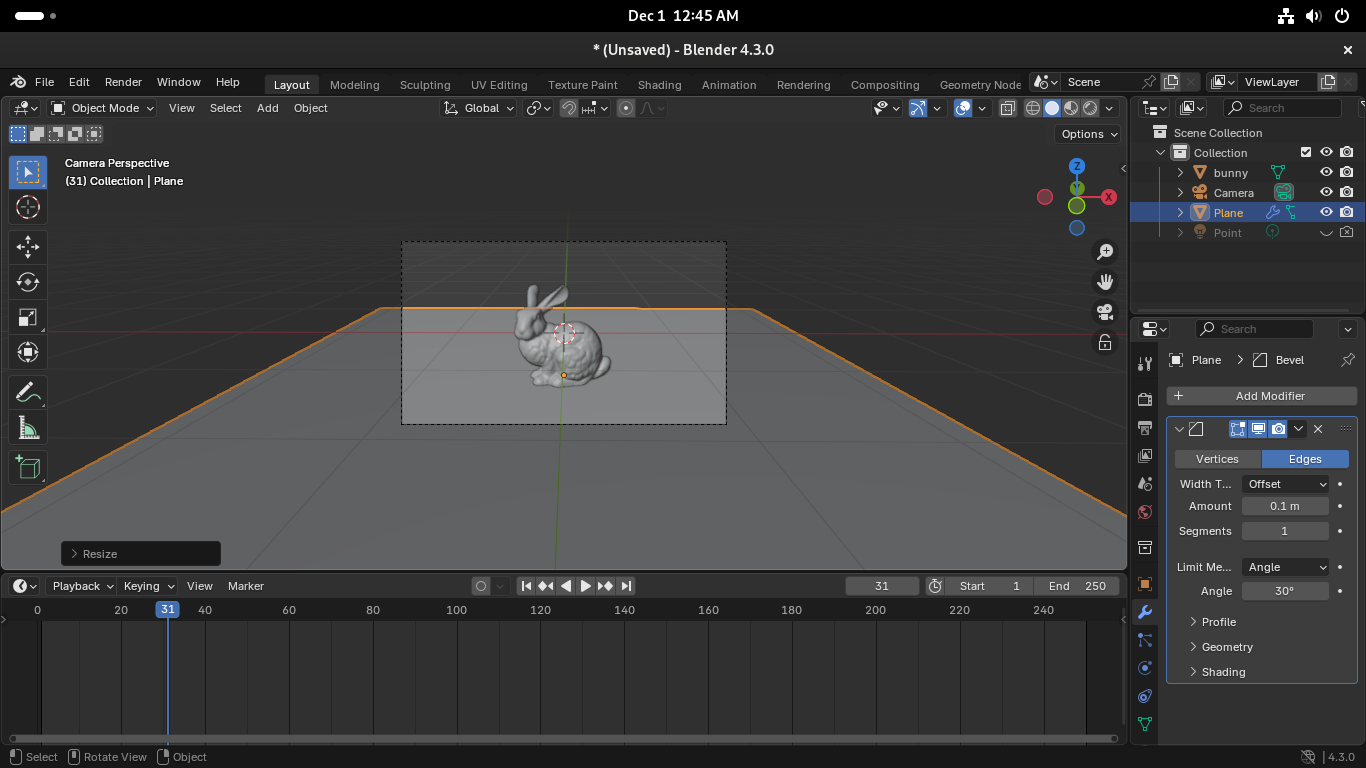
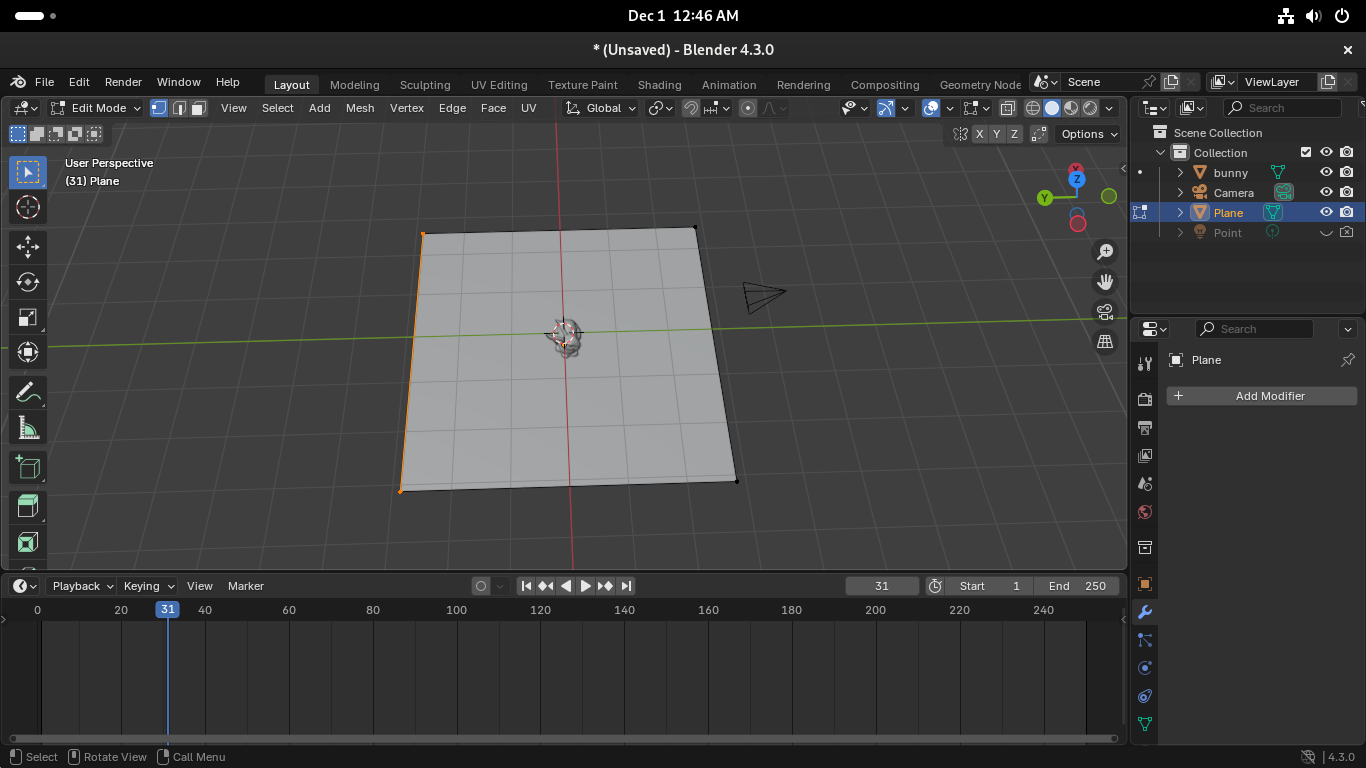
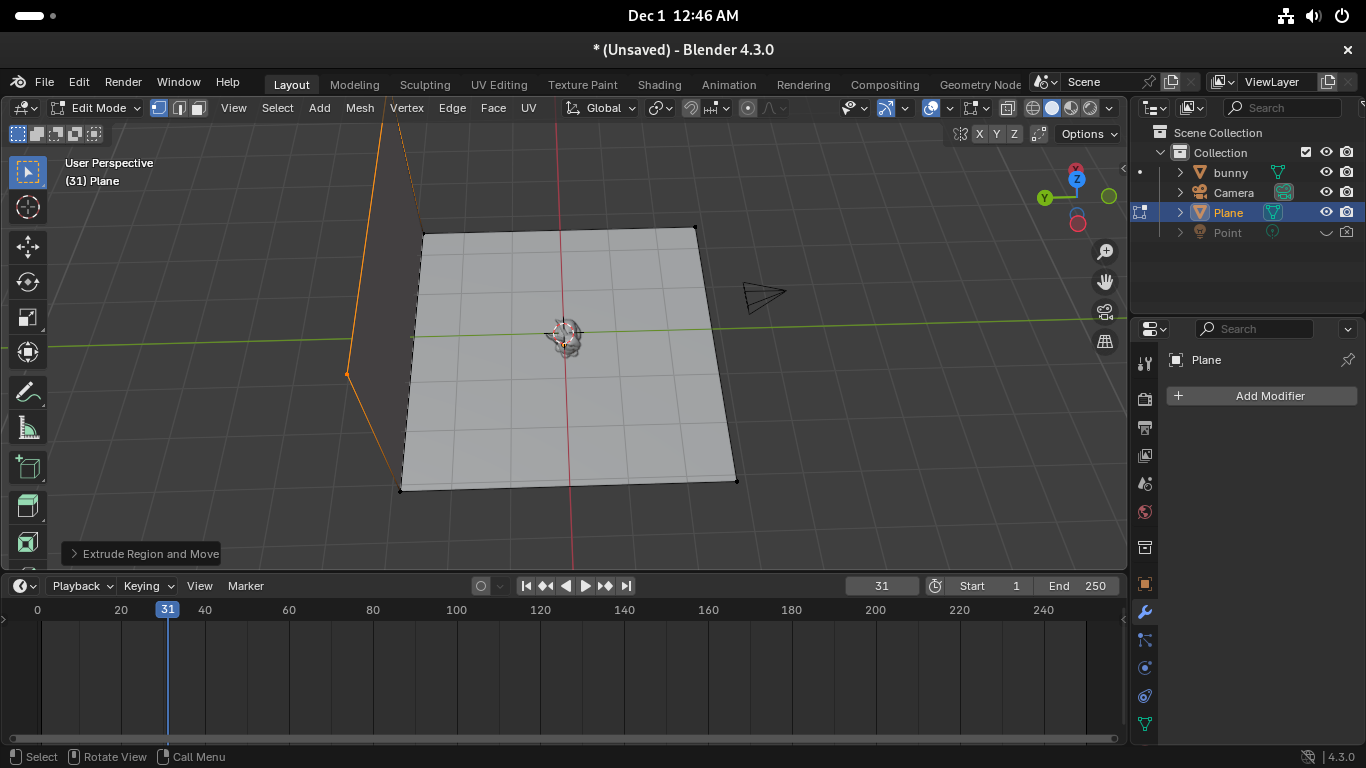
We need to smoothen the edge, for better appearance. Select the vertices joining the two planes, select Add Modifier -> Generate -> Bevel. This option might be different based on the Blender versions, so you can use the space bar for searching bevel as well. Increase the Amount and Segments for smoothness.

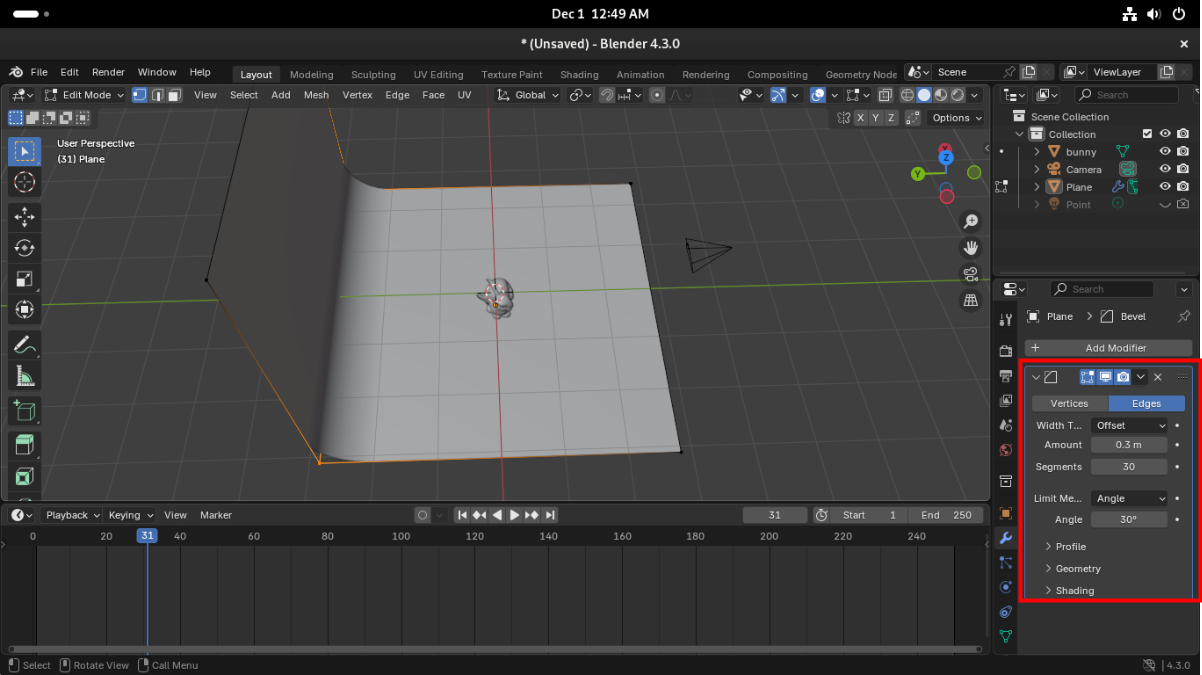
Bring the background closer to mesh if the it appears darker during rendering.
5. Load a light using shift+a -> Light -> Point. Im using point light, but feel free to explore different lights and adjust accordingly. Place the light above the mesh, a little towards the camera. Increase the power to 300w and radius to 1m for softer shadows.
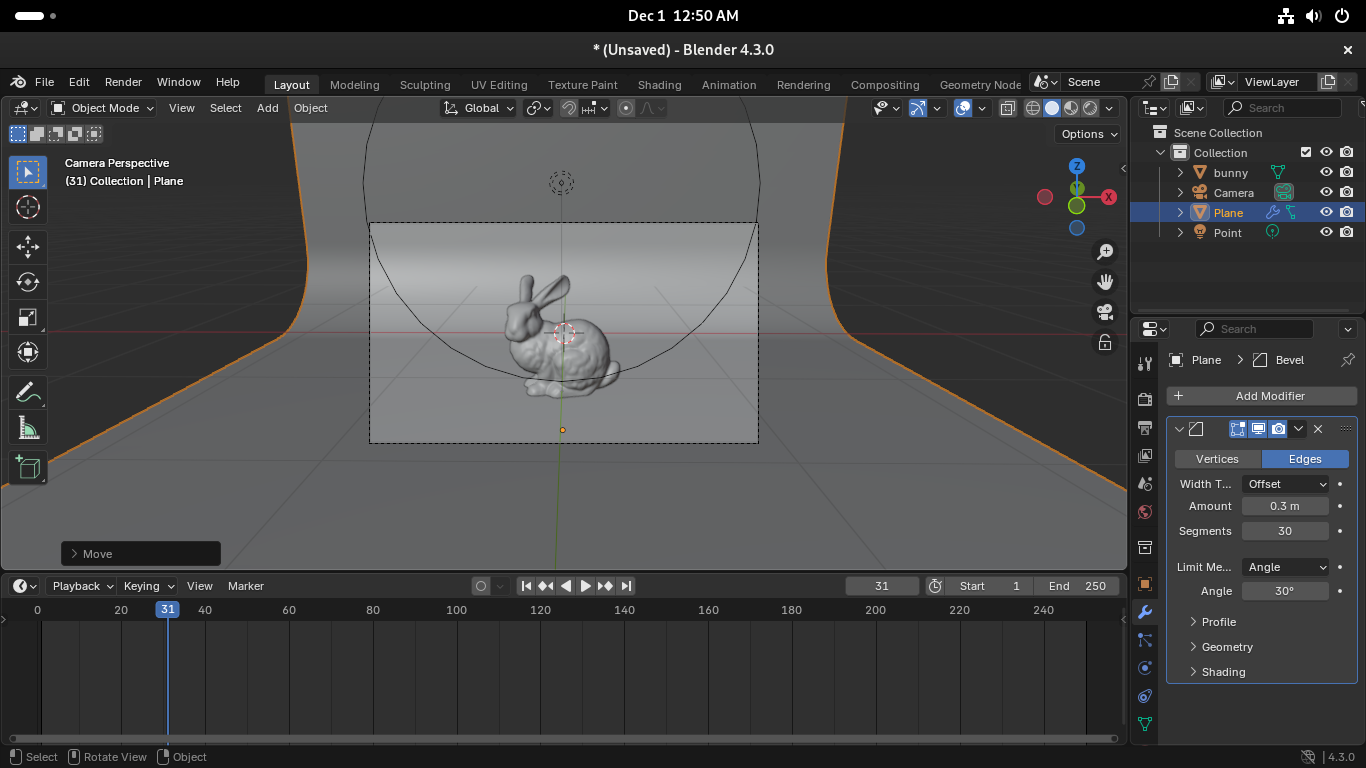
6. Finally, go to shading section to set the material properties. Select New material, and adjust color and material properties as you see fit. You can set materials for ground plane as well and adjust the color.
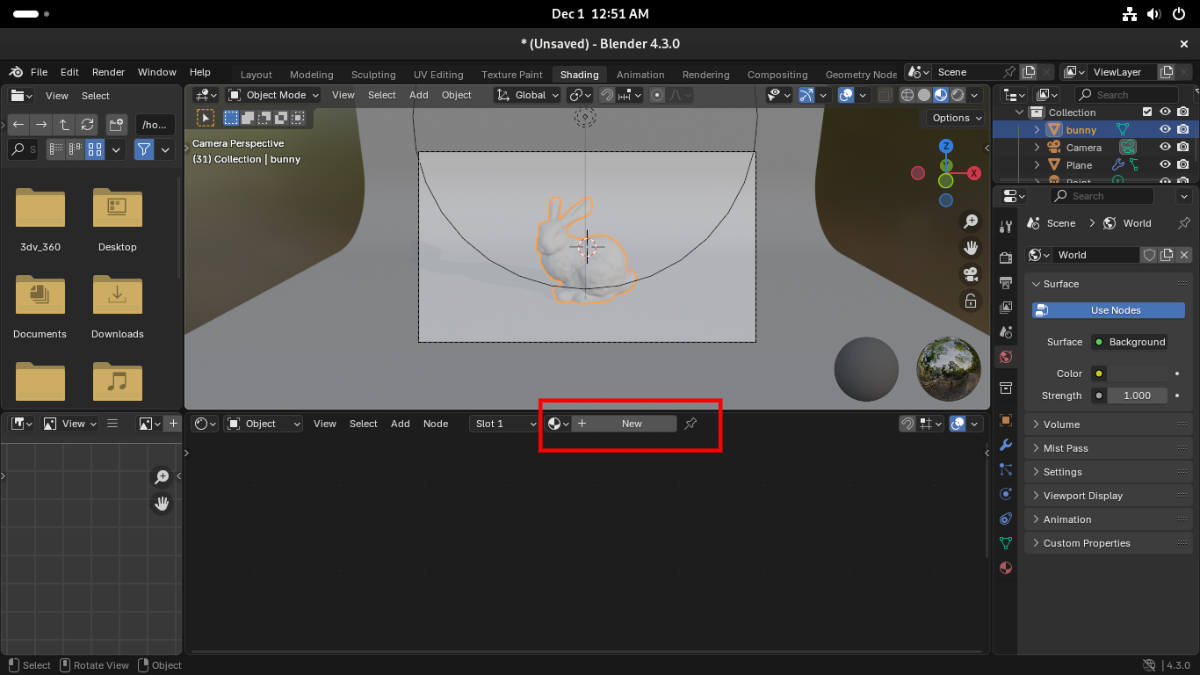
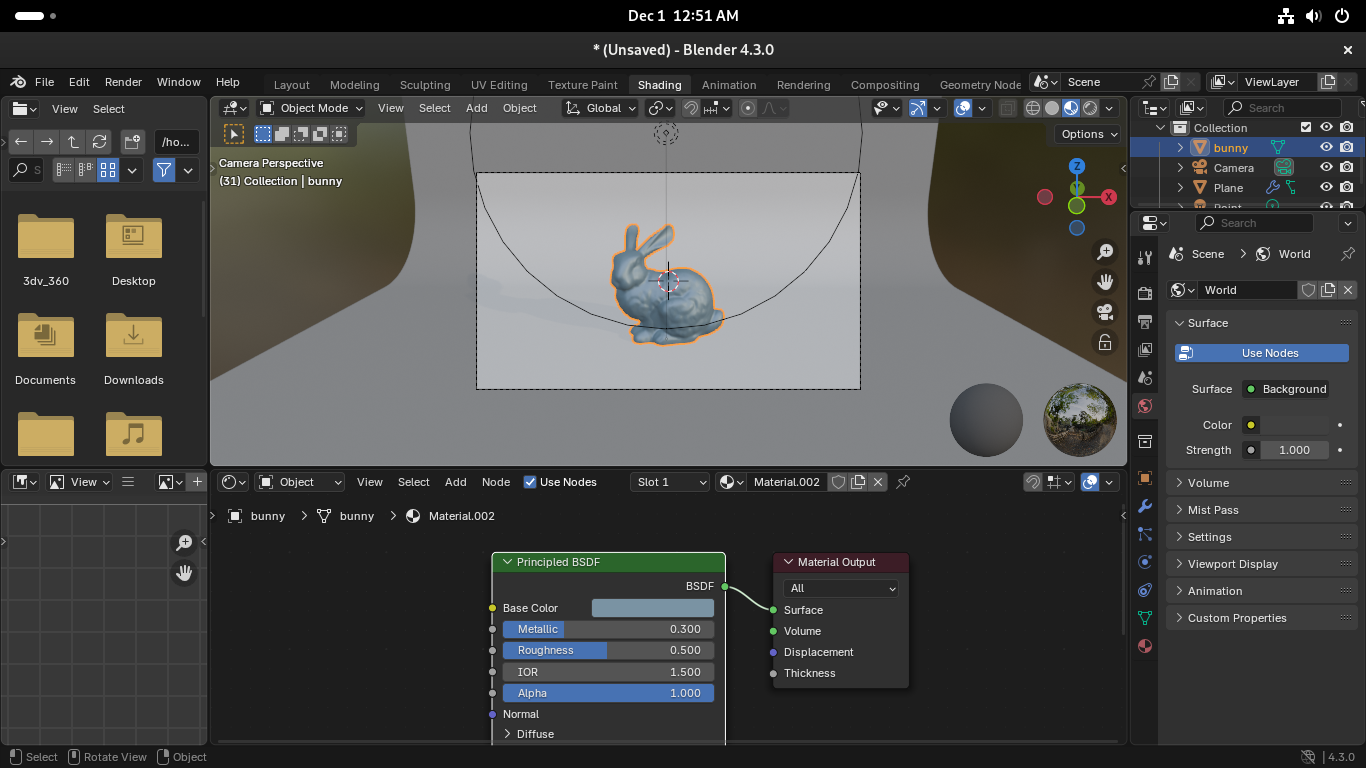
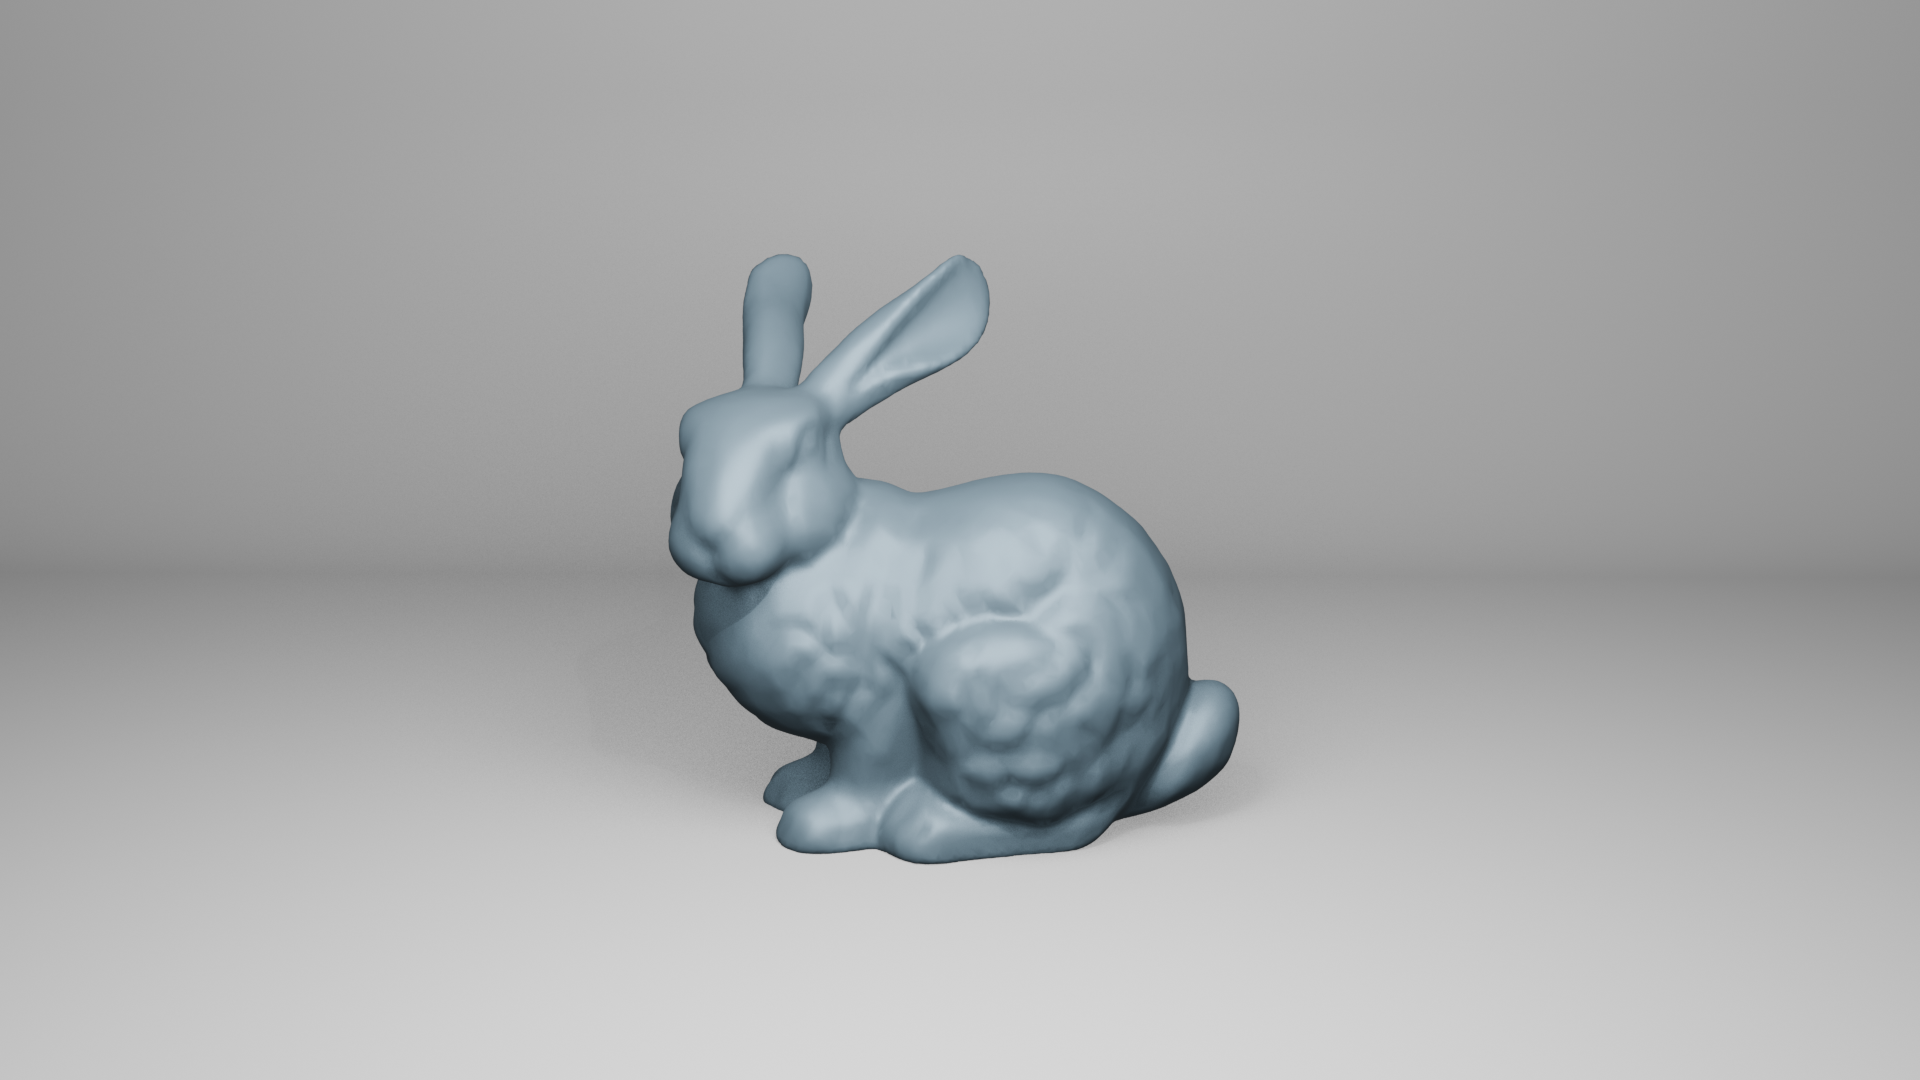
Now you can view the image of your mesh by rendering. You can readjust the lighting, camera and material properties based on the redering.
Magic of Key Framing
Blender Key Framing is a blessing in disguise! We’ll be using this to interpolate between our mesh positions. There’s two ways you can render a 360\(^{\circ}\) view of the mesh, either rotate the camera, or the mesh. I think rotating the mesh is the easiest way to go about it.
First, pull up the Timeline which is used to see the animation progress. In the Output, set the output path, Frame End to 120 and File Format to FFmpeg.
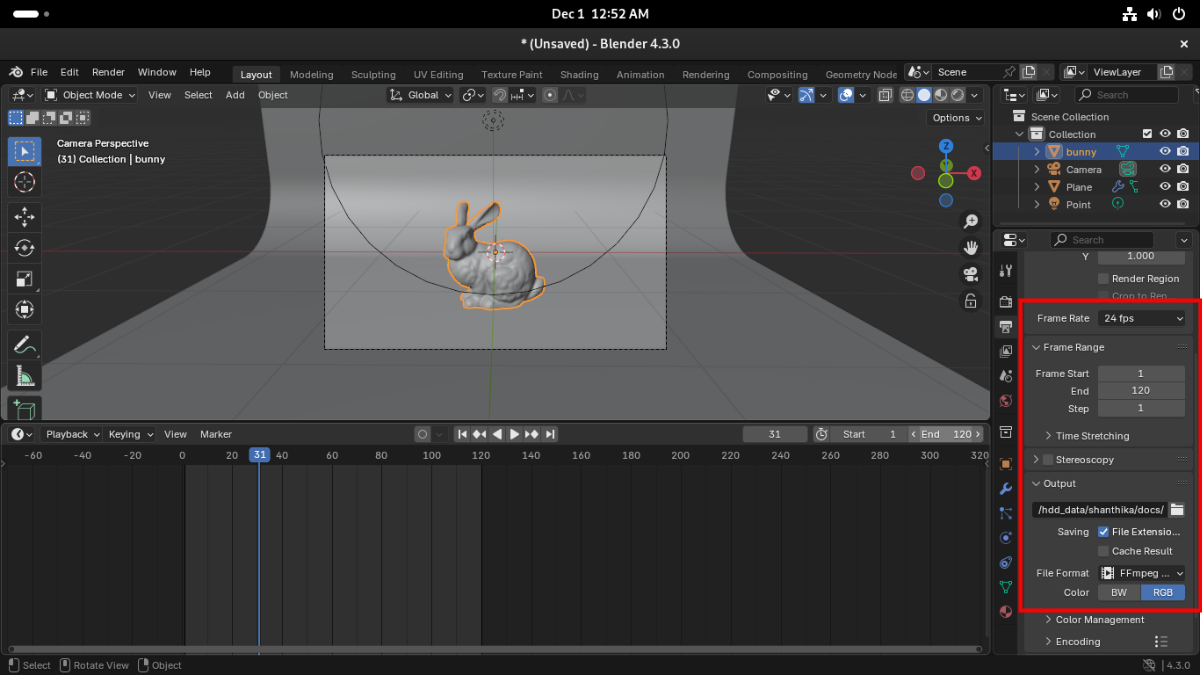
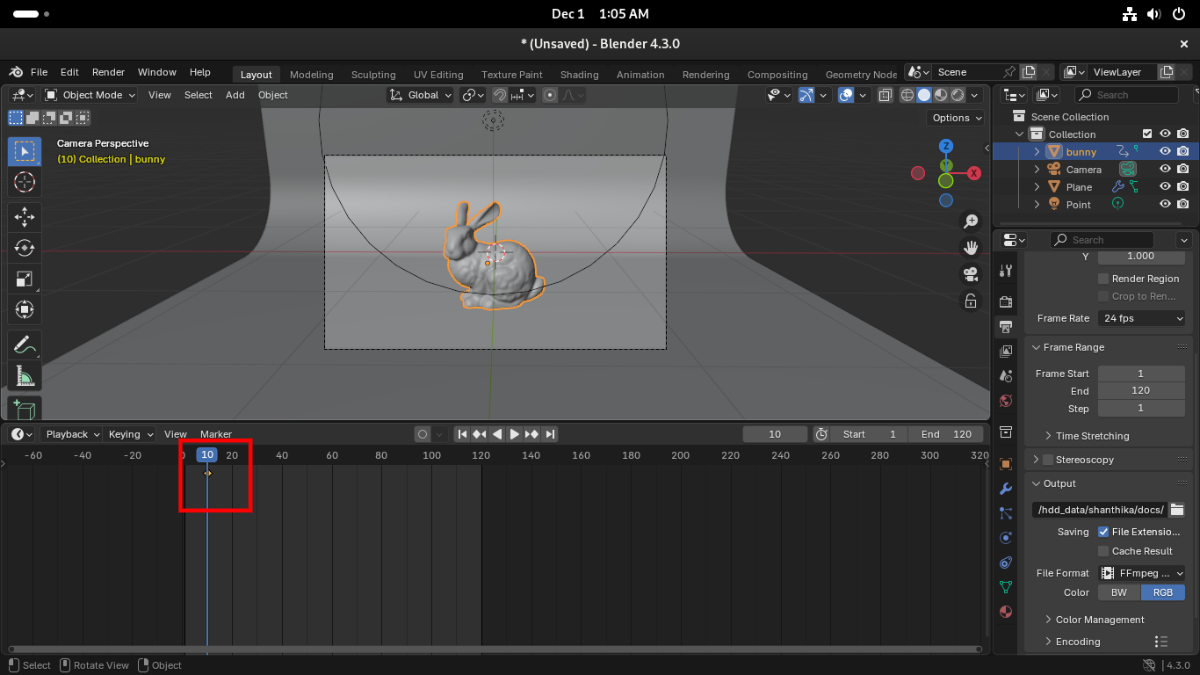
In the Timeline, go to frame 10. Then right click on the Mesh -> Insert Keyframe . Alternatively, press i to insert a keyframe, however make sure that the mouse is hovering in the viewport (where the mesh is). This sets our first position.
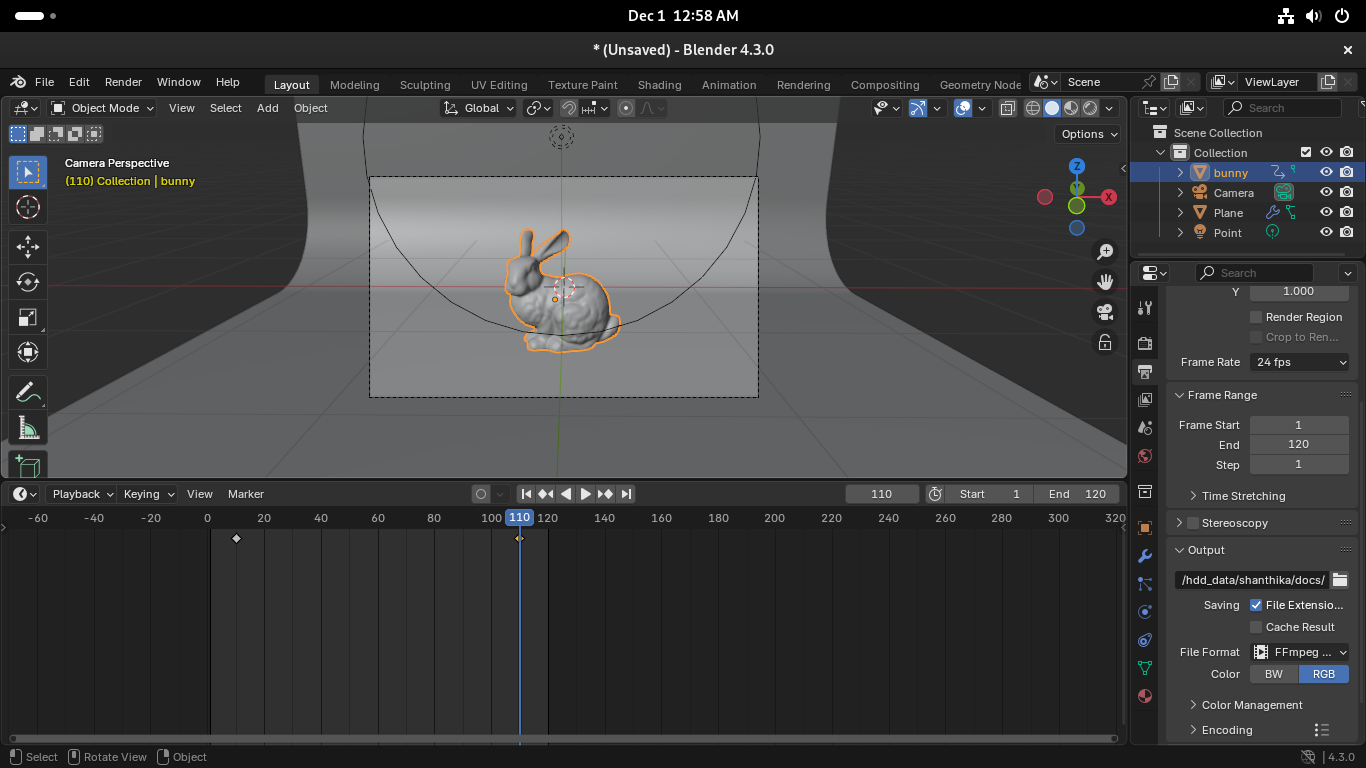
Next, go to frame 110. Press r, z and type 360. This rotates our mesh by 360\(^{\circ}\) around Z axis. Now set the keyframe again by right click on the Mesh -> Insert Keyframe or press i.
Now blender automatically interpolates between these two positions. This can be seen by moving forward and back in the Timeline. Finally, render the animation Render -> Render Animation.
This gives us our 360\(^{\circ}\) video!!